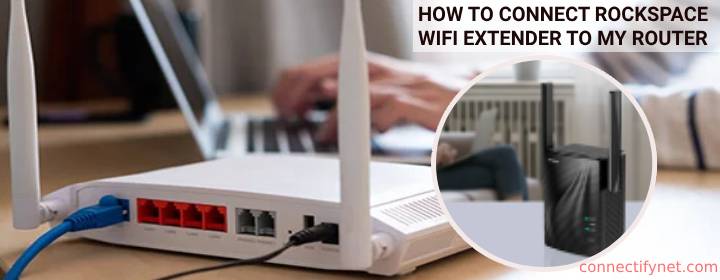
How to Connect Rockspace WiFi Extender to My Router?
You purchased Rockspace WiFi extender, don’t you? Yes? And, want to connect it to your router? Yes? Fab! This post is written for you! A hundred users reaches out to us daily with the same query i.e. how to connect Rockspace WiFi extender to my router – and with glad – we say them – Google has redirected you to the right post.
Over here, you will find the instructions that will help you connect Rockspace WiFi extender to your router in blink of an eye. Let’s get started!
WPS Method to Connect Rockspace WiFi Extender to Router
Power on Your WiFi Extender and Router
To connect your Rockspace extender and router:
- Place them at a safe distance.
- Choose a working wall socket to plug them in.
The wall sockets must be closer to each other. If they are not – kindly install a one – but do not place your Rockspace extender and router at an excessive distance.
Connect Them!
Once you are done with placing your Rockspace extender and your host router closer – the time has come when you need to connect them. So, what you have to do:
- Locate the WPS button on your Rockspace extender.
- Once you find it – press it gently.
- Wait for 10-15 seconds.
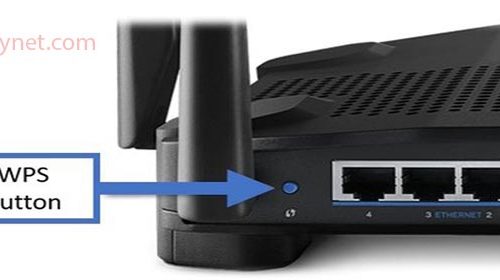
- Locate the WPS button on your host router.
- Press it.
Smile! Your Rockspace extender and your host router are now connected using the WPS method. To check their connection if it is successfully made– access – re.rockspace.local from a computer or laptop.
“My router doesn’t have the WPS button. Now, how do I suppose to connect it to my Rockspace extender?”
If your host router doesn’t have the WPS button – then you can connect them manually.
Manual Method to Connect Rockspace WiFi Extender to Router
Here are the instructions to connect the devices in discussion manually. Keep reading!
- Power on your Rockspace extender and host router.
- Take an Ethernet cable and use it for connecting the devices. You have to connect one end of the cable in your Rockspace device and other end in your router.
- Turn on your computer or laptop.
- Once you are done with turning on your client device – connect it to the WiFi network (SSID) of your Rockspace extender i.e. Rockspace_EXT (default).
If you are having trouble connecting your client device to the Rockspace extender’s SSID, Rockspsace_ext – use an Ethernet cable for connecting them.
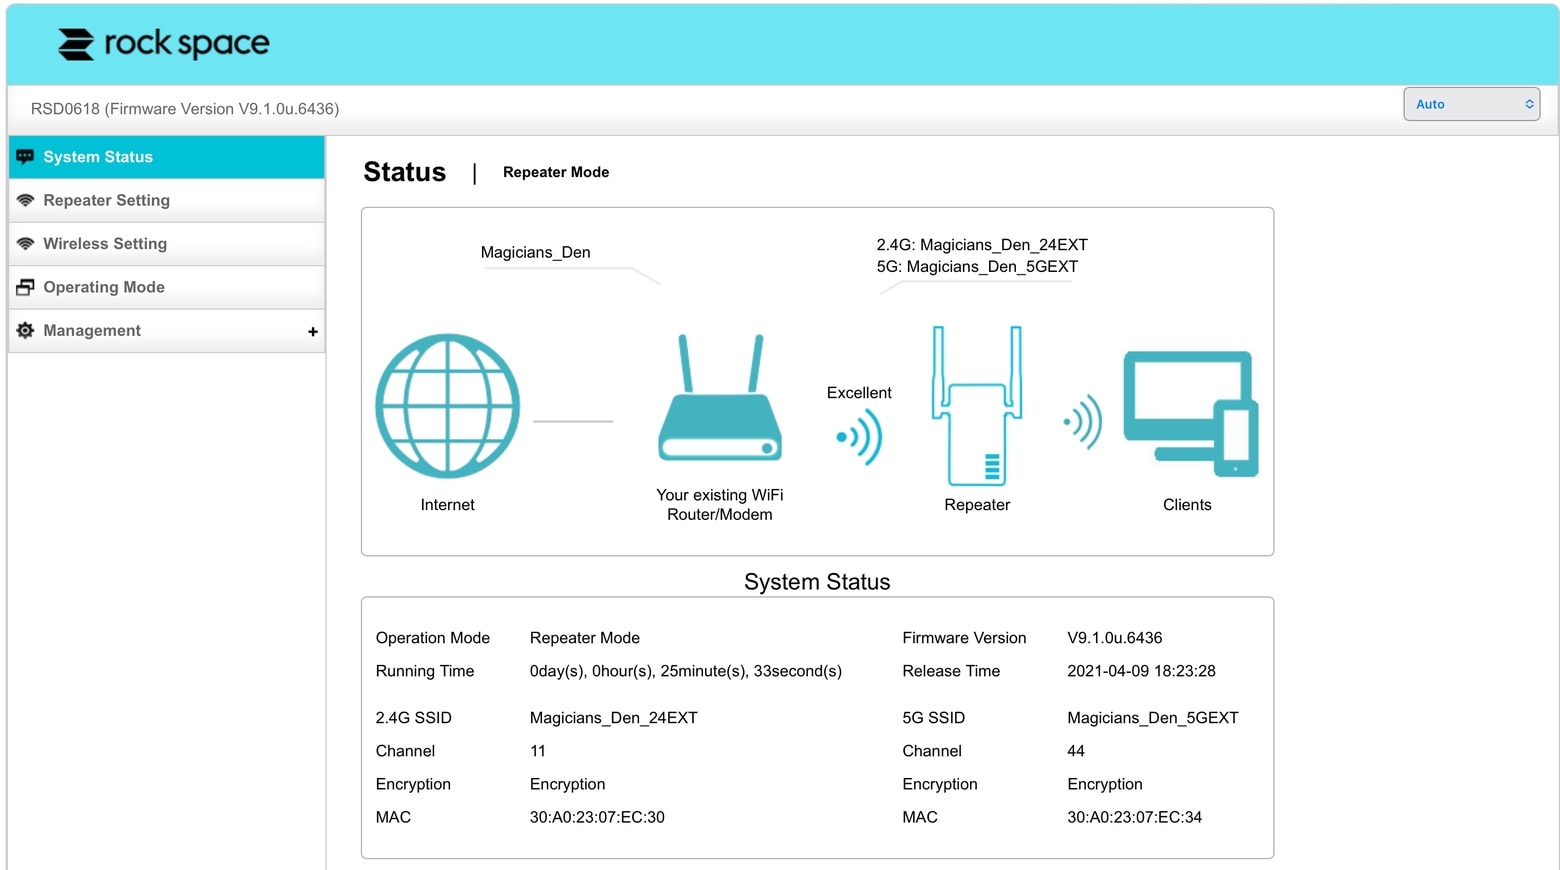
- Load up an internet browser of your choice and enter re.rockspace.local in the address bar.
- Press the Enter key.
- Rockspace extender login page will display.
- Provide the admin credentials of your Rockspace device in the required fields and proceed to access its dashboard.
- Once you are in the dashboard of your Rockspace extender – configure its settings as per the settings of your router – by applying a couple of on-screen instructions.
You are Done!
Kudos! In this manner – you can connect your Rockspace WiFi extender and your router manually. Now that you have connected your devices – unplug them and place them anywhere in your home. Remember that – no matter which location you choose for your Rockspace extender and router – but:
- They should be kept closer
- Place them in an area of your home where their WiFi signals do not get affected by your neighboring WiFi networks and they can communicate to each other smoothly.
In a Nutshell
Rockspace extender is a great device to consider to get better WiFi coverage all over your home. When the device is connected to your host router – trust us – you will get to access internet in those corners of your router that are declared as blind spots.
Our blog post on how to connect Rockspace WiFi extender to my router ends here. Anticipating that the instructions we have provided here will help you connect them without hindrance. If yes – then with the hope of helping you – we are wrapping up our post.


